
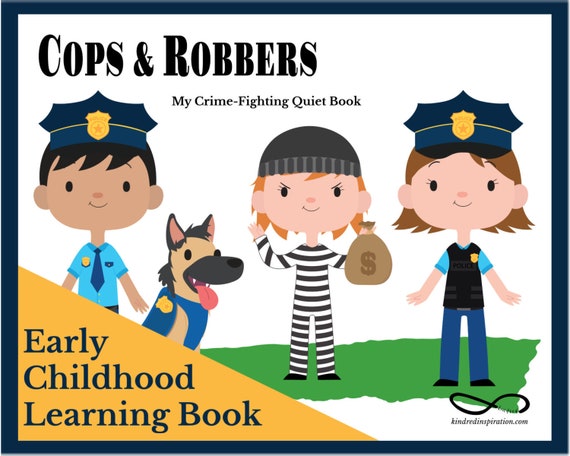
Printable quiet books, busy binders, and other learning activities are all the rage in my house right now. Here’s how to make my latest quiet book design- Cops and Robbers.
We love printable quiet books because they are a minor investment in time and money, so I can offer my toddler new books to match her interests and maintain her excitement.
I started to make these books and activities for my child when she was one, and got such good feedback that I created an Etsy shop to share them with other families.
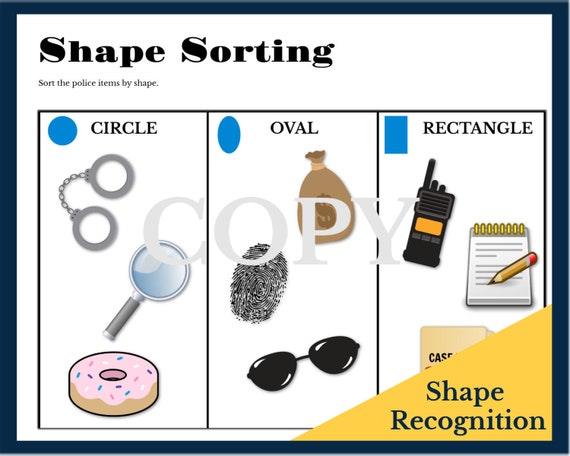
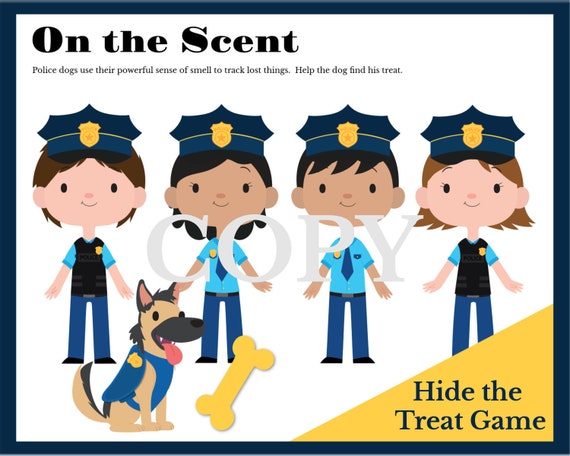
Recently, I completed a Cops and Robbers themed book with learning activities geared toward older toddlers and preschool age children. It’s a fun way for kids to learn and practice a variety of skills including shape recognition, counting and math, sorting by size, vocabulary, pretend play, and more.
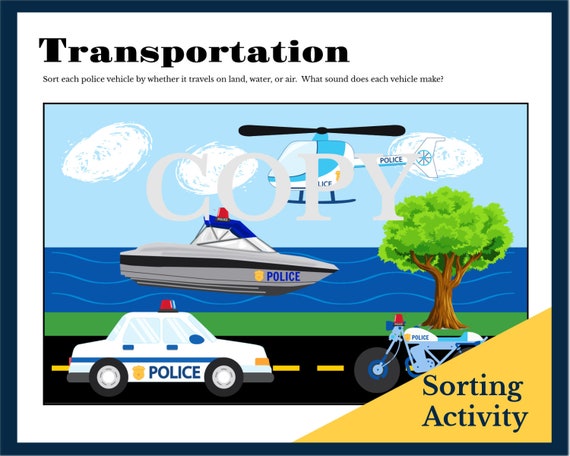
With 11 pages and 9 fun learning activities, kids can grow and play with this police-themed book for years. Plus, if you lose a piece, you can simply print a new one, so no worries about taking it on-the-road for waiting rooms, car rides, or plane trips.
Making a printable busy book is easy- no crafty expertise needed! All you need to do is print, cut, and laminate. No sewing. No trips to the craft store. And best of all, you won’t need to scour Pinterest for hours searching for free printables. Simply purchase and download the PDF files and you’ve finished the creative aspect of making a quiet book!
Materials
- Computer paper (which I use) or Cardstock
- Printer
- Laminator (recommended)
- Laminating pouches (I prefer 5 Mil thick)
- Scissors
- Hook and Loop Fasteners (like Velcro Dots) or Magnets
- Binder or file folder (optional)
Instructions
- Purchase my Cops and Robbers Quiet Book on Etsy.
- Instantly download my PDF files. The first file are the book pages and the second file are the cut outs.
- Print both PDFs.
- Cut out the pieces in the second PDF file. It doesn’t have to be perfect, just try to cut close to the design.
- Laminate. I prefer thick 5 Mil laminating pouches because they are more durable.
- Cut out the laminated pieces. Make sure to keep your corners round. You won’t want kids playing with jagged edges.
- Assemble using hook and loop fasteners or small magnets. For pages with no grey circles to indicate where to place the fastener, I recommend affixing on side on your cut out then adding the second half (sticky side up) and placing it exactly how you would like it to fit on the page. For instance, on the shadow matching activity (Police Gear), I put my Velcro dot in the middle of the police badge, added the second Velcro dot on top and pressed the badge to the page. When I removed the badge piece, the second Velcro dot stuck to the middle of the badge on the page and the pieces work together seamlessly.
- Finish you book by putting the pages in a binder or taking it to a local print shop and asking for them to bind it with a spiral binder (a super cute option if giving these as gifts and my local shop only charges a couple of dollars for this service). Another option is to put the pages in separate file folders and create file folder games.
Do you have a fun theme idea or learning activity you’d like me to incorporate in a future quiet book? Add it in the comments below. I’m always looking for new ideas!
