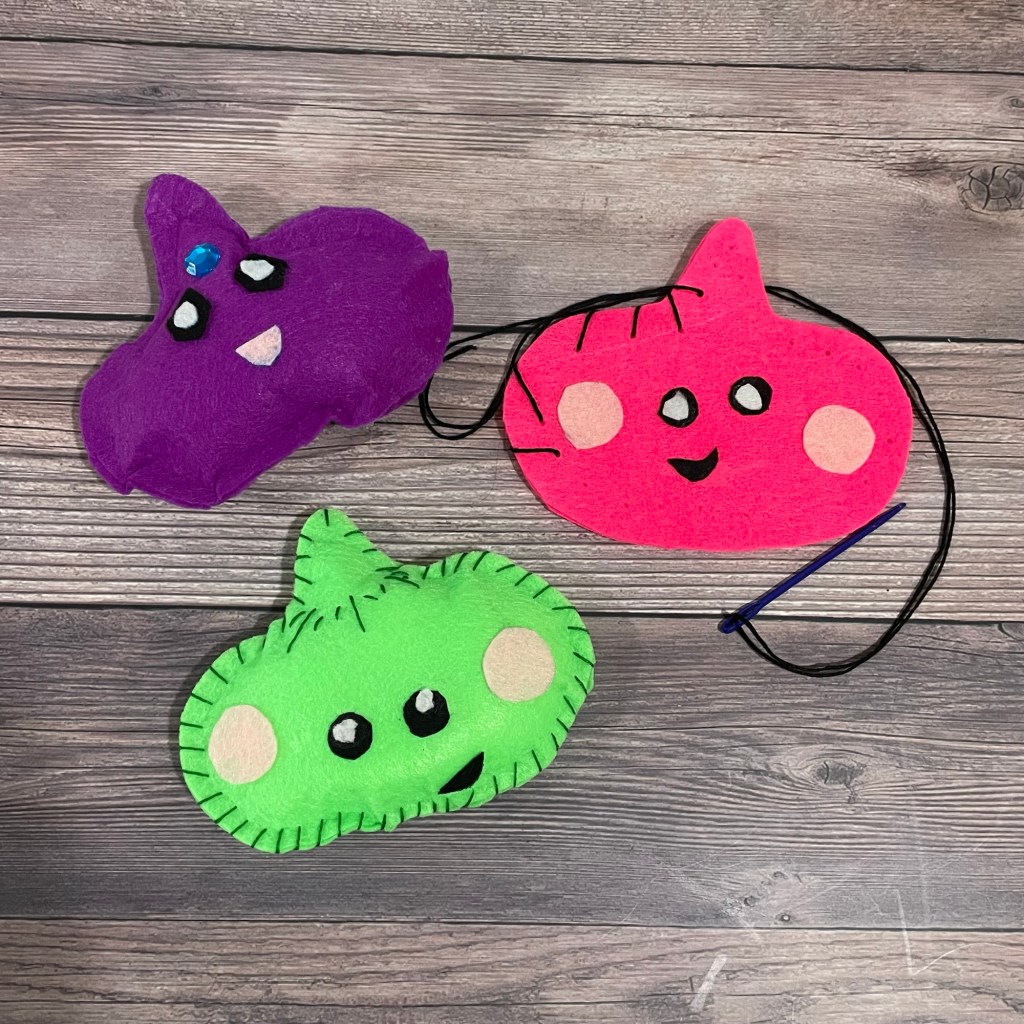
A little felt, some stuffing, and a funny face—that’s all it takes to give these squishy dumplings their own personalities! Choose your favorite colors, add rosy cheeks or a sparkly gem, and make a whole collection of soft little friends.
This felt dumpling craft can be sewn by hand or assembled with tacky glue, so you can choose the method that works best for you.
Supplies You’ll Need
- Paper
- Felt for the dumpling body
- Small scraps of felt for eyes, a mouth, and cheeks
- Tacky glue suitable for fabric
- Polyester fiberfill stuffing
- Scissors
- Pencil
- Needle and thread or embroidery floss, if sewing
- Optional gems, felt bows, or other decorations
Draw a dumpling shape on a piece of paper—a rounded body with a little point at the top. Cut it out to create your pattern.
You’ll use this pattern to make the front and back of your felt squishy.
How to Make a Felt Squishy Dumpling
1. Trace and Cut Out Two Pieces
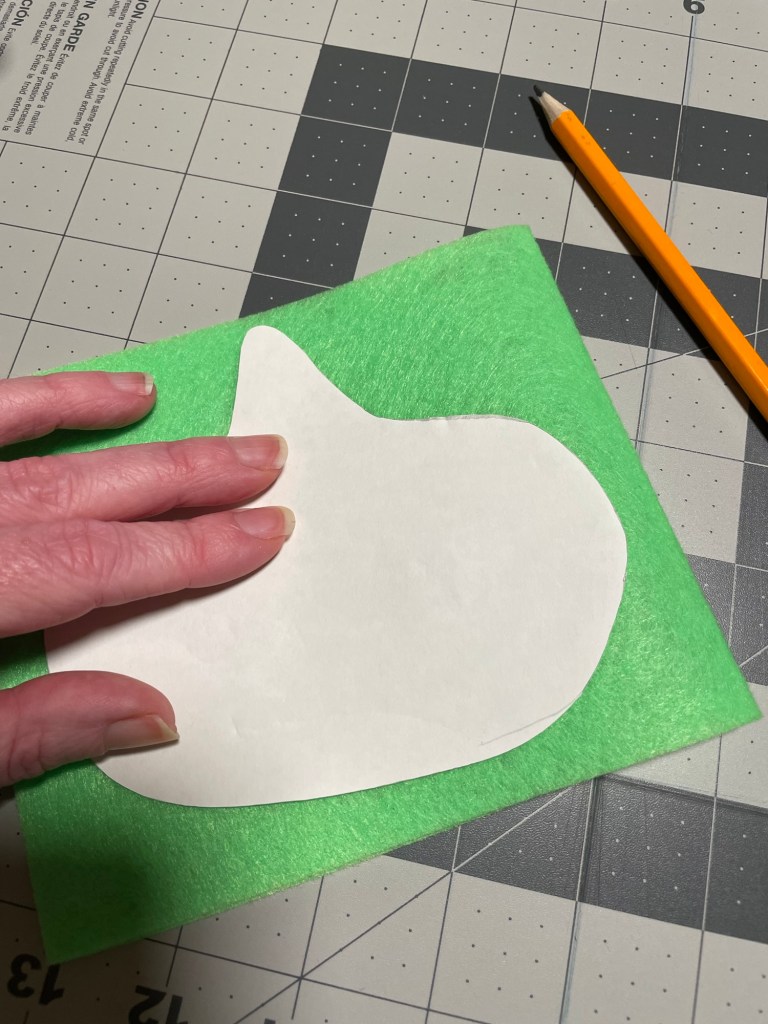
Place the template on your felt and trace around it. Repeat so you have two matching dumpling shapes, then cut them out.
One piece will be the front, and the other will be the back. Set the back piece aside while you decorate the face.
2. Give Your Dumpling a Face
Cut two eyes and a mouth from felt scraps. For eyes like ours, cut small black circles and add little white felt highlights. They don’t have to be perfectly round—the handmade shapes are part of the fun!
Arrange the face on the front piece before gluing anything down. Try moving the eyes closer together or changing the angle of the mouth to give your dumpling a different expression.
Use tacky glue to attach the eyes, mouth, and any cheeks. Add gems or accessories if you’d like, then let the glue dry according to the bottle’s instructions.
3. Join the Front and Back
Place the two body pieces together with the face pointing outward. Line up the edges.
If you’re sewing: Sew around the outside with a simple whip stitch or blanket stitch. Leave a small opening for the stuffing. Your stitches will show around the edge, so you can use matching thread or choose a contrasting color.
If you’re using tacky glue: Apply a narrow line of glue along the inside edge, leaving a small opening for stuffing. Press the pieces together and let the glue dry fully before moving to the next step.
You won’t need to turn your dumpling inside out.
4. Add the Stuffing
Push small amounts of stuffing through the opening. Gently work it into the top point and around the curved edges.
Add enough to make your dumpling soft and puffy, but avoid packing it too tightly. A little room inside makes it easier to squeeze—and easier to close!
5. Close Your Dumpling
Sew the remaining opening shut, or apply tacky glue to the open edges and press them together.
If you’re using glue, allow it to dry completely before squeezing or playing with your finished dumpling.
Make Each Dumpling Your Own
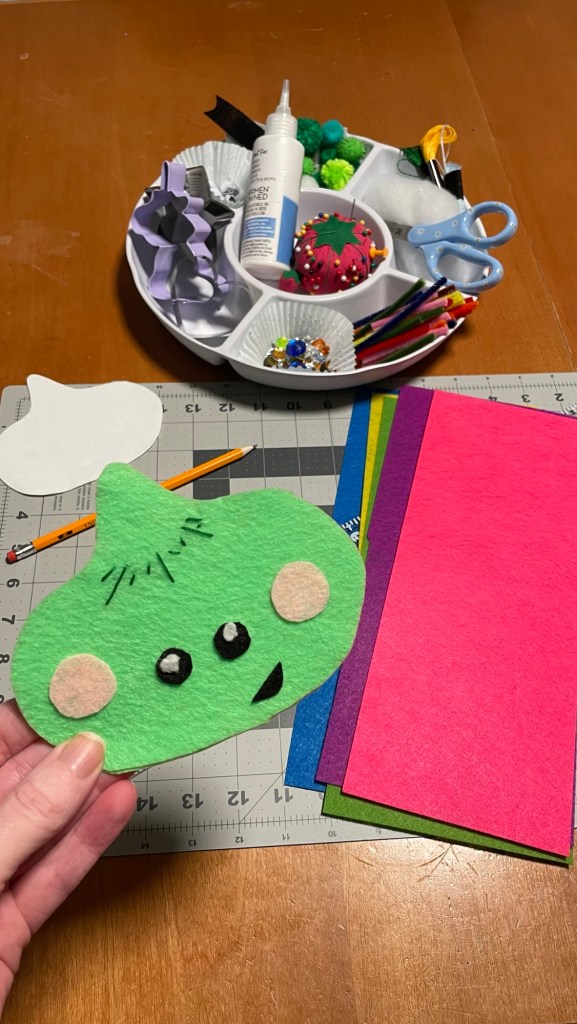
The best part of this craft is choosing the details. Make a bright pink dumpling with rosy cheeks, a purple one with a sparkly gem, or a green one with a big smile.
Try a few different ideas:
- A sleepy face with closed felt eyes
- A tiny felt bow
- Heart-shaped cheeks
- Matching dumplings in different colors
- A whole family with different expressions
Tips for a Soft, Squishy Finish
Use small tufts of stuffing so you can spread them evenly. Keep stuffing away from the edges when you close the opening, especially if you’re using glue.
For a version made entirely from soft materials, use felt decorations and skip the gems.
These little dumplings are soft stuffed felt plushies, so they’ll squeeze like a tiny pillow rather than slowly rise like a foam squishy.

