
If you can use scissors, you can make a printable quiet book! My travel-sized quiet books are quick and easy to make. Plus, their smaller size means that they easily fit in larger purses, diaper bags, suitcases… So you can provide a variety of learning activities to engage your kids in the car, on a plane, and everywhere in between!
Here’s how I make printable quiet books.
You Will Need:
- Computer Paper
- Printer
- Laminator
- Laminating Pouches
- Scissors
- Small magnets or hook and loop fasteners
- Paper cutter (optional)
- Binding Options: small binder (fits 5.5 x 8.5 page) or ring fastener ( I like to have my books spiral bound at my local print shop for under $3.)
Directions
1. Print your book. Maybe you’ve created your own designs, or maybe you like some of my current (and super affordable) designs on Etsy. (By the way, my book designs are filled with a variety of educational activities geared specifically for toddlers and preschoolers.) Click here to see my latest designs.
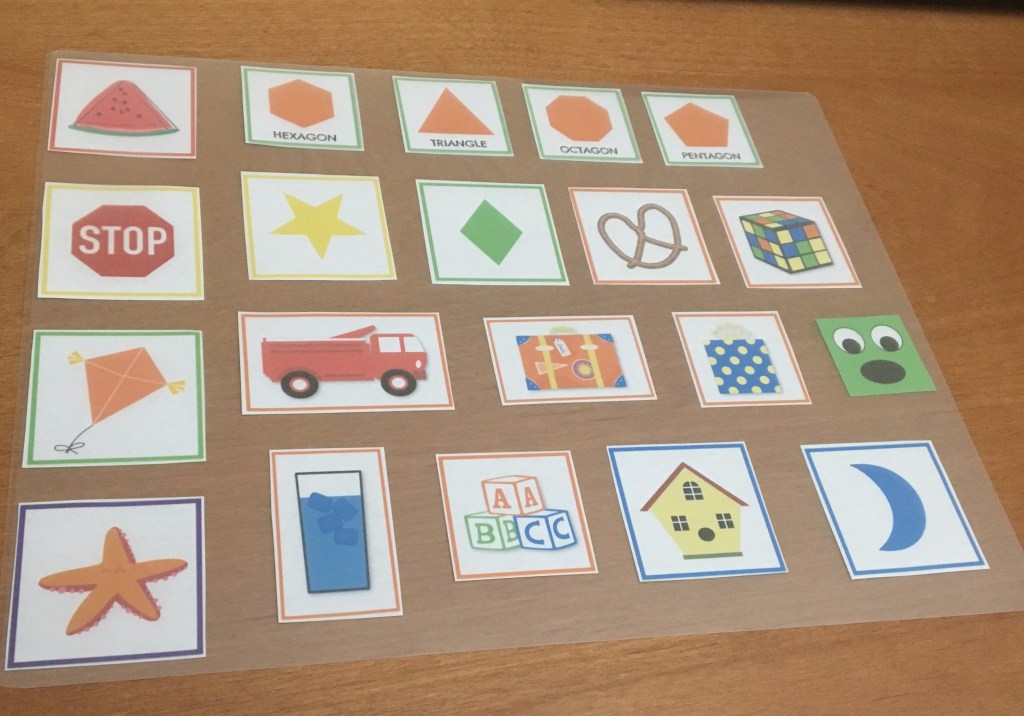
2. Cut out graphics and pages. My travel-size books are 5.5 x 8.5 inches, so I use a paper cutter to slice my pages in half. (I also make full-size books.)

3. Arrange pages and graphics in laminating pouches, and laminate.
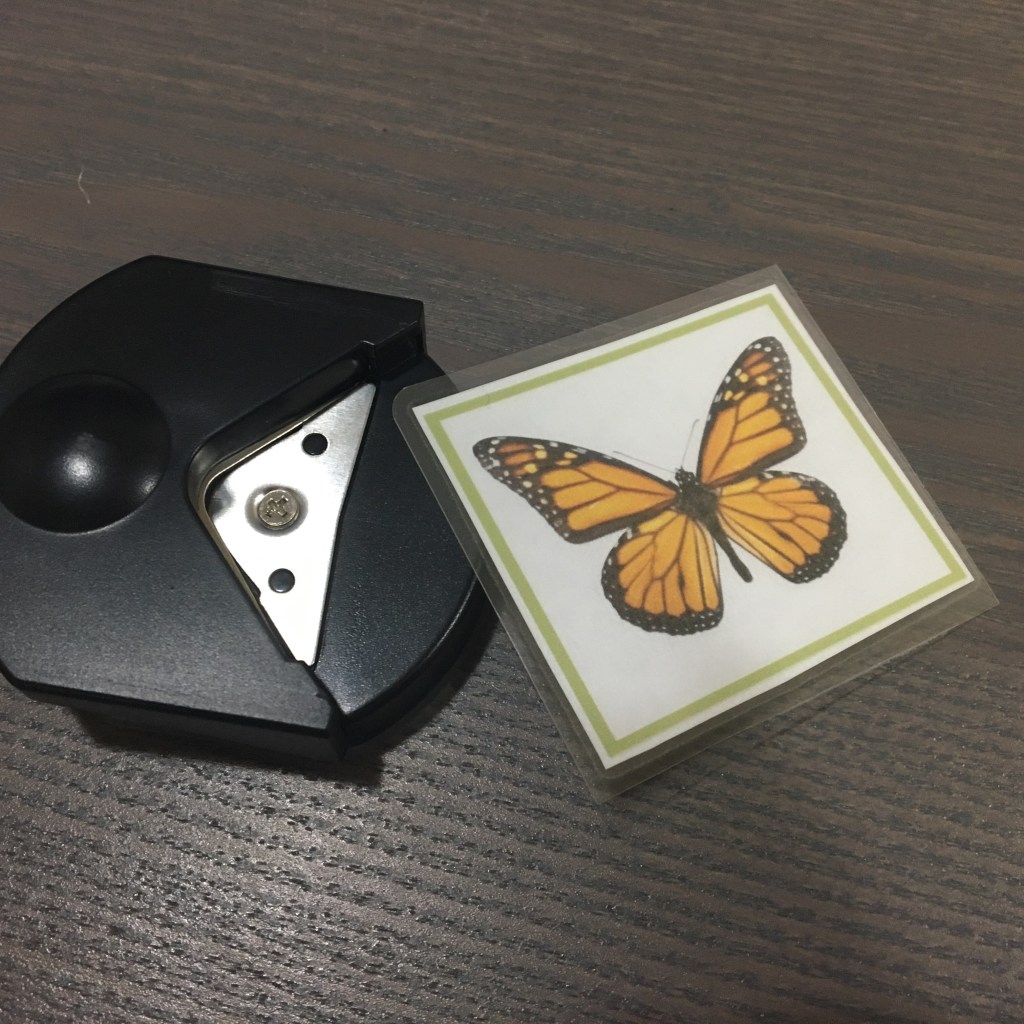
4. Cut out laminated graphics and pages. Again, I use my paper cutter to slice the book pages in half. When cutting out the graphics, there are two things to keep in mind. First, round the corners so there are no sharp edges. (My laminator came with a corner trimmer that makes this really easy, but you can use scissors.) Second, provide generous trip so these pieces do not pose a choking hazard.
5. Use your fasteners to assemble the pages. (Many of my pages have dots to indicate where to put each fastener.) First, adhere the first side of your fastener as indicated, then place the second side of the fastener on top (sticky side up). Press your graphic to the page where you want it to go. Now, your fasteners are perfectly aligned with your graphics!

6. Bind your book. Here are a few ways to bind you book:
- Ring – punch a hole in the top left corner of each page and attach them to a ring
- Small Binder – punch holes as needed to assemble pages in a small binder
- Spiral Binding – take your pages to a printing shop and ask them to spiral bind them. My local shop charges less than $3. It’s quick and looks great!
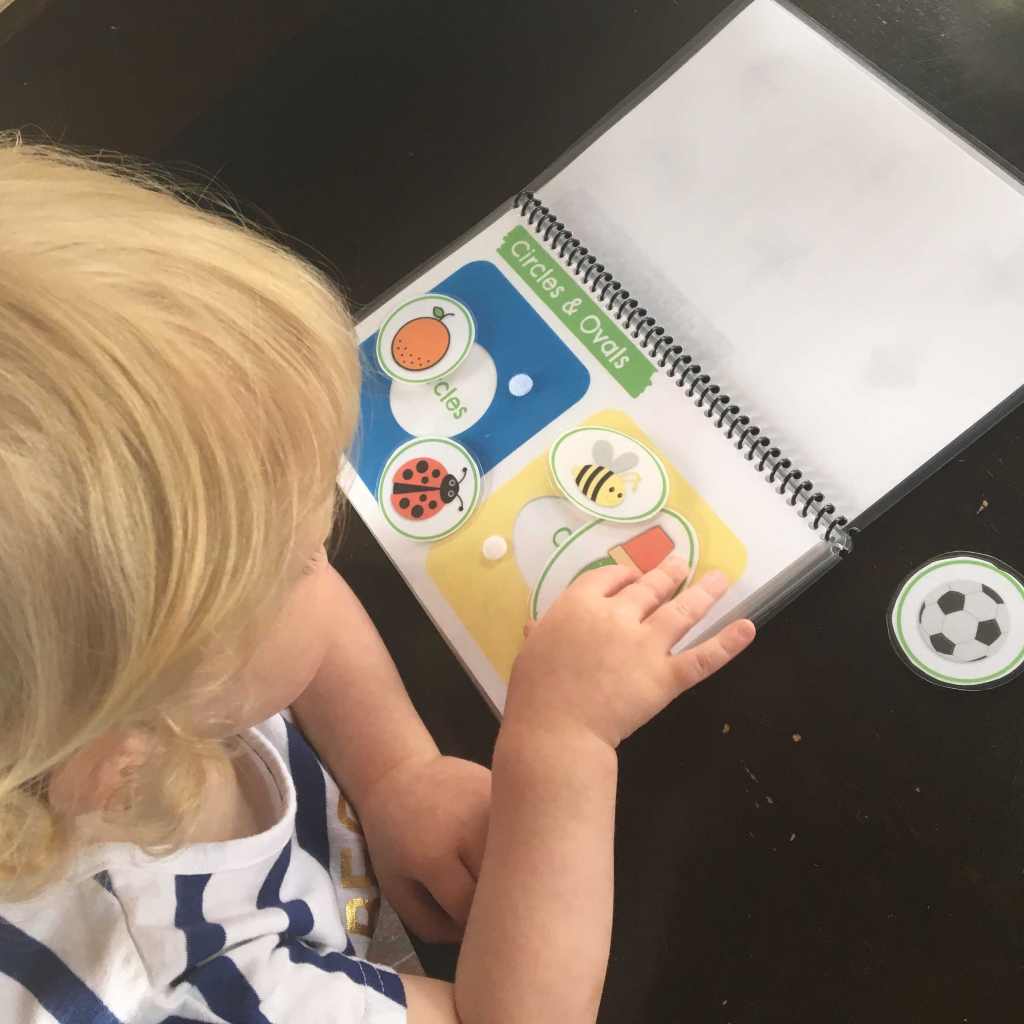
All done! Now comes the fun part of showing your kids the book! I find that my toddler enjoys the books more when I sit with her and show her each page at least once. Then, she can do the activities on her own.

I love putting these books in my purse and car. They have come in handy in waiting rooms, on car rides, family dinners, and even just so I can stop at the coffee shop for a little break now and then.
Stop by my Etsy shop and check out my selection of travel-sized quiet books as well as my best-selling learning binder quiet book sets! Click here to see more.

Not sure whether or not buying a laminator is for you? I was on the fence once too, and have found my laminator to be the best, most cost-effective, versatile early learning tool. Check out my blog post that shows why I love my laminator and what I use it for.

12 thoughts on “How to Make a Travel-Size Quiet Book”